Bird Crafts and Learning Activities for Children - Page 2
How to Make Bird Crafts and Learning Activities
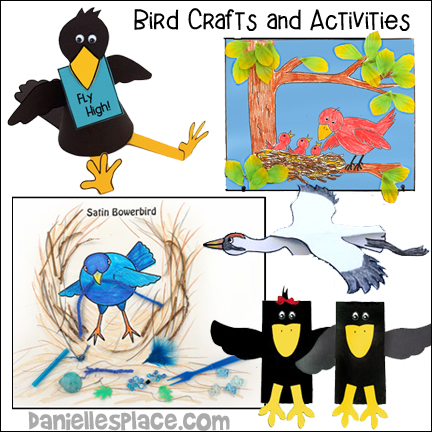
Satin Bowerbird Coloring and Activity Sheet - STEAM Activity
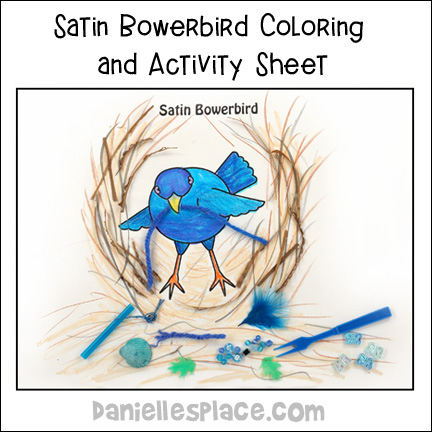
Children learn about bowerbirds and then color the bird picture to resemble a bowerbird. They also add cardboard sticks to make the bower and find items to glue to the picture.
What you will need:
Card stock (Heavy Paper), Colored Pencils, Crayons, or Markers, Corrugated Cardboard, Glue, and Scissors
What to do:
1. Watch videos about Bowerbirds and look up facts about bowerbirds on the web.
2. Print out the Bowerbird pattern onto card stock and have your children color the bird.
3. Cut very thin strips of corrugated cardboard to look like twigs and have your children glue them to the picture.
4. To finish have them go look for things a bowerbird might bring back to their bower. Have them glue the items to the picture.
Other Bowerbird Learning Activities
1. Take your children for a walk and encourage them to look for things and gather things that they think a bowerbird might use in it's bower. Help your children look for sticks and try to make a bower and then arrange the items like a bowerbird might do.
2. Have a contest to see who can make the best bower and find the best objects to attract females.
3. The 20 different species of bowerbirds live in Australia and New Guinea. Have your children find Australia and New Guinea on a map.
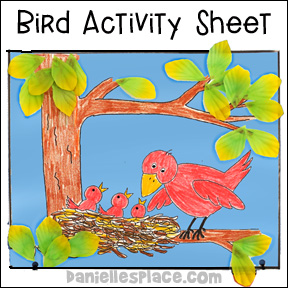
Bird Picture with Real Leaves
What you will need:
Heavy Paper
Crayons and Markers
Glue
Dried Leaves
Straw or Dry Grass
Pipe Cleaner
Exacto Knife
How to make:
1. Print out the pattern onto heavy paper.
2. Collect leaves and press them in a heavy book between sheets of waxed paper. Collect some dried grass or straw. The leaves used in the picture were Green Collage Flowers Petals cut into leaf shapes from Lakeshore Learning Store.
3. Color the picture and then glue on dried leaves on the branches and grass on the nest.
4. Cut a hole on each side of the mama bird's beak. Cut a piece of brown pipe cleaner about 2 to 3 inches long and stick in through the hole to make it look like the bird is holding a worm.
Copyright 2000, Digital by Design, Inc. - See Copyright Information
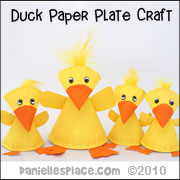
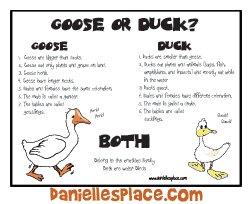
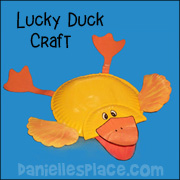
Duck Crafts and Activities Page
For more duck crafts go to the Duck Crafts and Activities Page.
Raven and Black Bird Crafts
Sitting Raven or Crow Paper or Foam Craft
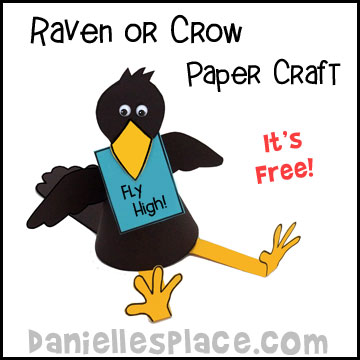
This adorable raven/crow craft can be made with construction paper, card stock, craft foam, or poster board. Use it to go along with popular children's books about ravens or crows.
You can print out the patterns onto colored paper or have your children color the patterns and then cut them out and assemble them.
How to Make the Sitting Crow Craft:
1. Tape or glue the body piece together to form a cone shape. Glue the wings on the back where the sides of the cone come together.
2. Tape the head to the top front of the cone. You can glue on wiggly eyes if you would like.
3. Tape the tail feather to the bottom back of the cone to the inside of the cone and fold it up.
4. Fan fold the legs, folding the feet up at the end. Tape them to the body. If you don't want to fan-fold the legs, you can cut them shorter or use Chenille stems to make the legs.
5. Have your children write a message or summary of a raven or crow story on a sheet of paper and glue it to the raven's beak.
Copyright 2000, Digital by Design, Inc. - See Copyright Information
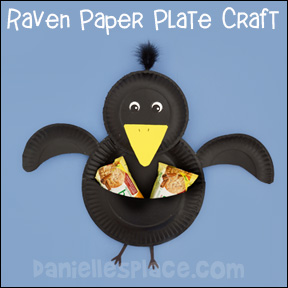
Paper Plate Raven Craft
This bird can be used to hold papers or candy.
What you will need:
Dinner-sized Paper Plates
Snack-sized Paper Plates
Yellow, Black, and White Construction Paper
Black Marker
Black Paint and paint brushes
Tacky Glue or Low Temperature Glue Gun
Black Feathers
How to Make the Paper Plate Raven Craft:
1. Before class cut the top one-third off of one large paper plate. Glue it to another large paper plate so that it forms a pocket.
2. Glue two small paper plates together, top to top, for the head. Glue the head to the large paper plates as shown.
3. Cut out some wings from another paper plate or black construction paper and glue them to the body.
4. In class have the children paint the body of the bird, cut out a beak and eyes, and glue them to the body.
5. They can also
glue some feathers to the top of the head and make legs from black
construction paper.
You can also punch a hole in the top and tie a piece of yarn in
the hole so they can hang their birds.
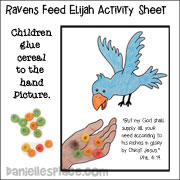
The craft was designed to go along with a Bible lesson about Elijah and the ravens. Click here for a Free Sample Lesson.
Copyright 2000, Digital by Design, Inc. - See Copyright Information
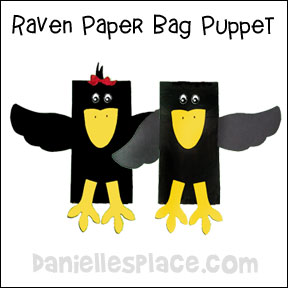
Jack and Jill Paper Bag Black Bird Puppets
These puppets can also be used as raven puppets for the story of the ravens feeding Elijah. They would make a great craft to go along with the lesson.
What you will need:
Yellow Paper
Black Paper
Tape or Glue
Red Ribbon (Optional)
How to Make the Paper Bag Bird Puppets:
1. Paint your bag black with acrylic paint and let it dry.
2. Print out the Body Patterns and cut them out. Cut the wings and hair from black construction paper. Cut the beak and legs from yellow construction paper.
3. Glue the eyes and the beak onto the bottom of the bag as shown. Glue or tape the hair onto the back of the bag for the Jill puppet. Tie a piece of red ribbon into a bow and glue it onto the hair.
4. Glue or tape the wings onto the sides of the bags and glue the legs to the top of the bag as shown.
5. Use your puppets to act out the rhyme below.
Two Little Blackbirds
Two
little blackbirds
Sitting on a hill.
One
named Jack;
One
named Jill.
Fly
away, Jack;
Fly
away, Jill.
Come
back, Jack;
Come
back, Jill.
The Royal Raven Children's Book
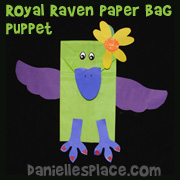
The Royal Raven by Hans Wilhelm - Crawford the Crow wasn't happy with who he was. Deep in his heart he knew he was special, but he didn't look so special. He was just an ordinary raven. He wanted to stand out so he tried all kinds of things to improve his appearance. But it was no use, nothing seemed to work. He finally went to an old women with special powers and told her he would do anything if she would make him look different. Crawford thought it wasn't that great a deal when the old women said she would take some of his tail feathers in exchange for her changing his appearance, but he would soon find out that he would have to give up a lot more than that to be noticed. He became so unusual looking that a princess decided she had to have him. Crawford was so excited when she took him to live in the castle with her, but he caused such a ruckus in the castle he was banished to a cage in the garden where he was hardly ever seen. Even when someone did come to see him and praise him for his beauty, he wasn't happy. When he finally realized that great beauty and fame wasn't worth the cost and that he was happier with his friends as an ordinary bird, he plucked out all his feathers so the princess would let him go.
Copyright 2000, Digital by Design, Inc. - See Copyright Information
Bird Crafts on Other Pages
Flamingo Crafts
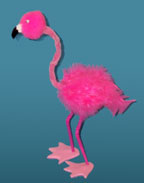
Pink Flamingo
What you will need:
3 1/2" Styrofoam egg shape
1 1/2" Pink Pompom
Pink Pipe Cleaners
Googly Eyes
White Craft Fun Foam
Pink Craft Fun Foam
Pink Bendable Straws
Pink Feathers
Pink Paint
Black Permanent Ink Marker,
Glue
How to Make the Flamingo Craft:
1. Paint the Styrofoam egg shape pink and let it dry.
2. Wrap three pipe cleaners around each other to make the neck. Glue a pink pompom onto one end of the pipe cleaners for the head. Cut a beak shape from white fun foam and color the end black with a permanent ink marker. Glue the beak onto the pompom. Glue on wiggly eyes. Stick the other end of the pipe cleaner neck into the egg shape body at the wider end of the egg.
3. To make the legs, stick a pipe cleaner inside a pink straw. Make two. Cut to the length you would like the legs, but leave some of the pipe cleaner sticking out of the straw at the feet end. Stick the legs into the egg shape as shown. (Use hot melt glue to secure the legs so they don't fall out.)
4. Cut webbed feet shapes from pink fun foam. Cut two for each foot. Stick the pipe cleaner that is sticking out from the straw through one layer of the webbed foot shape and bend it so it is laying flat against the foot. Glue another webbed foot shape over the end of the pipe cleaner and to the back of the webbed feet.
5. Glue pink feathers to the egg shaped body to finish.
6. Have fun posing the flamingo by bending his neck and feet. See if you can balance him so he can stand on his own.
Copyright 2004, Digital by Design, Inc. - See Copyright Information
Comments about this Craft:
I just wanted to give some helpful
tips for the craft. I am in a hurry - always. I only have about
6 - 10 minutes designated for craft so I have to do much of the
craft prep myself and just leave the assembly for the kids. I bought
a huge square of florist foam and one package of florist wire (the
wire was pre-cut into lengths). I inserted the wire into each egg
shape and stuck it down in the foam square (so that all the eggs were
sticking up out of the foam square on the wire lengths - it was
like having 20 pairs of extra hands.) This way when I spray painted
the eggs pink I didn't have to touch them. After they dried I
sprayed on spray adhesive and put on the feathers while they were
still on the wire. It worked great for the all the "spraying" parts.
Also, I wasn't sure about making the beak out of white foam
so I bought what my craft store called bump chenille pipe cleaners
in white and cut them apart at each "bump". If you fold
them in half and glue the thick end to the face of the bird, it is
a pretty realistic beak shape - the thin end becomes the beak
and is even open like a beak would be. I will have the kids color
them black and assemble the rest of the bird during class. I am looking
forward to teaching this lesson this week. I just thought I'd
share these assembly tricks with you. Jennifer
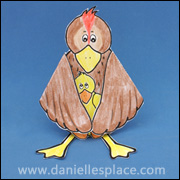
Hen Crafts and Activities
Whooping Crane Puppet with Flapping Wing Craft
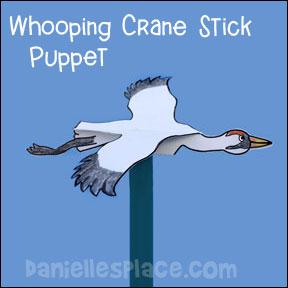
Move the paint stick up and down and the Whooping Crane flaps his wings. All you need for this craft is: Card stock, crayons, tape, glue, scissors, and paint sticks. A pattern and directions for this craft are available to members only.
What you will need:
Card stock
Crayons
Tape and Glue
Paint Sticks or Jumbo Craft Sticks
How to make:
1. Before class print out the pattern onto card stock and cut it out.
2. In class have the children color the cranes.
3. Fold the cranes in half, matching up the head and the legs. Cut a slit in the fold at the belly and slide the paint stick inside the hole. Glue it closed. Tape or glue the rest of the crane together.
Copyright 2000, Digital by Design, Inc. - See Copyright Information
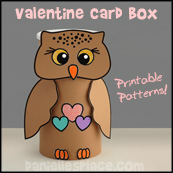
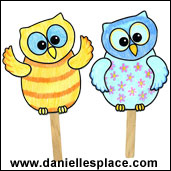
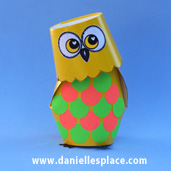
Owl Crafts
(See the Owl Crafts and Learning Activities Page for directions and patterns.)
Turkey Crafts for Kids
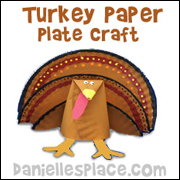
See the Thanksgiving Crafts Page for turkey crafts and activities

