Mother's Day Crafts 4
How to Make Crafts for Mother's Day Page 4
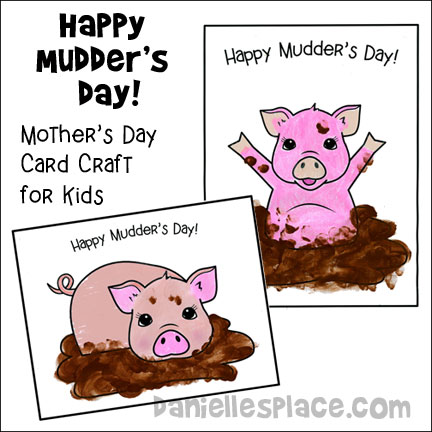
Happy Mudder's Day Muddy Pig Pictures
What you will need:
Card Stock, Colored Pencils, Crayons, Brown Finger Paints, and Paint Brushes
How to Make the Muddy Pig Pictures:
1. Print out the pig pictures onto card stock.
Member's ![]()
Instant Digital Download ![]()
2. Have your children color the pictures with crayons or colored pencils.
3. Then have them use their fingers to paint finger paint on the picture to look like mud.
©2017, Digital by Design, Inc.
Happy Mudder's Day Gift for Moms

What you will need:
Digital Camera and Printer
High Res. Printer Paper
Card Stock (Heavy Paper)
Brown Finger Paint
Paint Brushes (Optional)
Glue
Colored Paper
How to Make the Mother's Day Gift:
1. Place brown poster paint in a container in a thin layer.
2. Have your children press their hands into the poster paint. You can also place a small dot on their nose and streaks of paint on their cheeks.
3. Have the hold their hands up at face level. Show them how to frame their face with their fingers and hands. Take their pictures making sure you don't have any distracting background.
(If you don't want to take the child's picture, you can just have them make muddy handprints on the paper. You can also include the "Handprints on the Wall" poem.)
4. Print out the pictures and cut them into squares.
5. Have your children glue their picture on a piece of card stock and write "Happy Mudder's Day" at the top of the paper, and then write their names using a paint brush or their fingers at the bottom of the page.
©2017, Digital by Design, Inc.
"You Otter know, You're the best!" Otter Mom and Baby Paper Plate Craft

The patterns for these 'otterly' adorable Mother's Day Gifts are available on the Sea Otter Crafts Page. (Available to members and as an instant download.)
I Love You like no Udder Mudder" - Mother's Day Card
What you will need:
Card Stock (Heavy Paper)
Crayon or Colored Pencils
What to do:
1. Print out the cow pattern onto card stock.
Member's 
Instant Digital Download - ![]()
2. Have your children color the picture for their mother's and write their names on the card.
©2017, Digital by Design, Inc.
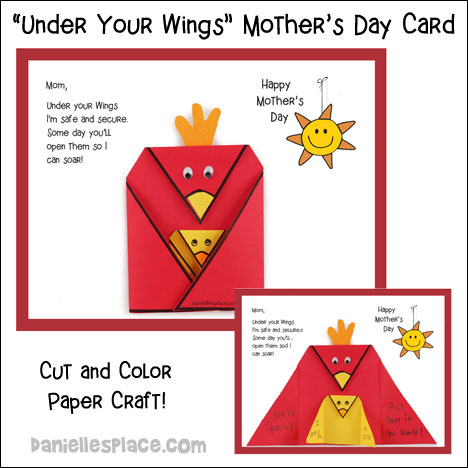
"Under Your Wings" Mother's Day Card
What you will need:
Red Paper, Yellow Paper, Scissors, and Colored Pencils
What to do:
1. Print out the mother hen pattern onto red paper and the chick pattern onto yellow paper. Print out the background poem paper onto white paper.
Member's 
Instant Download Pattern - 
If you don't have the pattern, you can make your own. Write:
"Under your wings I'm safe and secure.
Someday you'll open them so I can soar!"
©2016, Digital by Design, Inc.
2. Cut out the hen and chick patterns. Fold the head down and the wings in on the sides. Glue the hen to the poem page and then glue the chick on the hen pattern.
3. Have your children write Mother's Day messages on the inside of the wings and color the sun picture.
©2016 - Digital by Design, Inc. - See Copyright Information
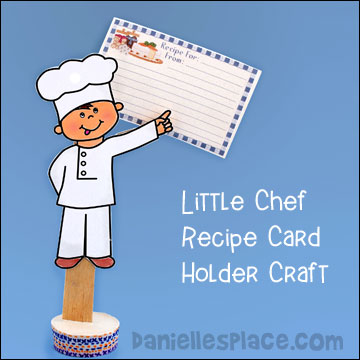
Little Chef Recipe Card Holder Craft for Mother's Day
What you will need:
Cardstock (Heavy Paper)
Scissors
Glue
Paper Cup
Plaster of Paris (Optional)
How to Make the Little Chef Recipe Card Holder:
1. Print out the Little Chef Pattern onto card stock (Heavy paper).
Membre's ![]()
Free Instant Download
2. Color the picture and cut it out.
3. This craft can be made two different ways:
You can just use the pattern and a clothespin glue to the back of the arm, and then glue magnets to the back of the pattern and the clothespin so that the card holder can be attached to a metal surface.
Or you can glue the little chef pattern to a jumbo craft stick or paint stick so that the entire pattern is on the stick, and then glue the spring clothespin behind the little chef's arm so you can't see it from the front.
Place some Plaster of Paris in a paper cup and use tape to keep the little chef on the stick in place while it dries hard.
4. To finish write your favorite recipe on a recipe card and place it on the clothespin.
©2012, Digital by Design, Inc. -*See Copyright Information
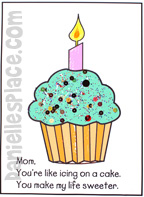
Mother's Day Cupcake Craft for Kids
What you will need:
Paper
Crayons
Glue
Sequins and Other Decorative Items
How to Make Mother's Day Card:
1. Print out a picture of a cup cake and write on the bottom of the page, "Mom, you're like icing on a cake. You make my life sweeter."
Member's
2. Color the picture and then glue sequins and glitter all over the top of the cupcake to decorate it.
©2009, Digital by Design, Inc. -*See Copyright Information
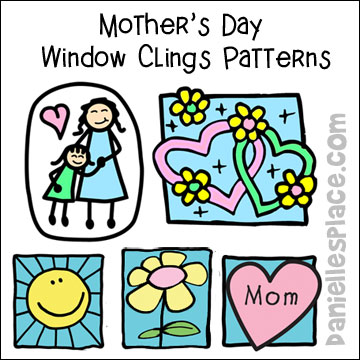
Free Mother's Day Crafts - Mother's Day Window Cling Patterns
What you will need:
Clear Vinyl (Get from Craft Store)
Tape
Paper
How to Make Window Clings:
1. Print out the patterns you would like to use to make the window clings.
Member's ![]()
Free Instant Download
2. Cut a piece of clear vinyl a little bigger than the pattern.
3. Tape the clear vinyl over the pattern you are going to use.
4. Use the black leading to outline the entire picture starting from the inside of the picture working out. Turn the pattern around as you work so you don't mess up the wet leading with your hands.
5. Let the leading dry for a least an hour.
6. Fill in the image using the transparent paint. Don't make it too thick and make sure you don't leave any spaces.
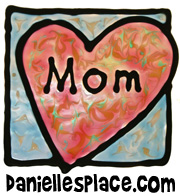
7. You can add designs to the images by dropping different colors of paint onto the surface paint. Use a toothpick to make swirls and lines by touching the tip of the toothpick in the middle of the dot and moving outwards through the background color. The "Mom" window cling on the right was made using this technique.
8. Let the image dry over night and then carefully peel it off the vinyl.
You can use Plaid Gallery Glass Window Cling Paint from Amazon to make these clings.
©2009, Digital by Design, Inc. -*See Copyright Information
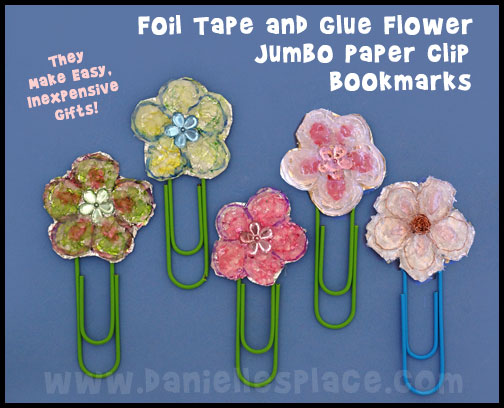
Foil Tape and Glue Flower Bookmarks for Mom
What you will need:
Jumbo, 4-inch Paper Clips
Aluminum Foil Tape (3" Wide or Wider) or Aluminum Foil
Sharpie Fine-Tip Permanent Markers
Flower Sequins (Gemstones) and other Sequins
Low Temp Mini Glue Gun with Lots of Clear Glue Sticks
Scissors
Very Thin Copper Wire (Optional)
How to Make the Foil and Glue Bookmarks:
1. Cut the 3-inch foil tape so it is 6 inches long. Carefully wrinkle up the tape and then flatten it out somewhat. (The wrinkles will give your flowers sparkle.) Fold the piece in half so you have a 3" x 3" folded piece.
2. Draw a flower shape on one side of the tape with a Sharpie Marker. Add color to the petals of the flower with Sharpie Markers, or glue on sequins and gems.
3. Outline the flower using your low temperature glue gun. Follow all the lines you drew.
4. Glue a flower gem in the center of the flower shape.
5. Using your glue gun fill in the flower shape with the glue by squeezing out the glue and then dabbing it with the end of your glue gun. You want the glue to be textured. This will make the flower sparkle. Keep doing this until the entire flower is filled in. The more glue you add the more muted the colors will be.
6. When the glue is dry cut out around the flower with the tape still folded so you have two flower shapes that are exactly alike. Peel off the backing from the flower and stick the flower on the end of a jumbo paper clip. Peel off the back of the matching flower shape and stick it to the back of the glue flower to cover the other side of the paper clip.
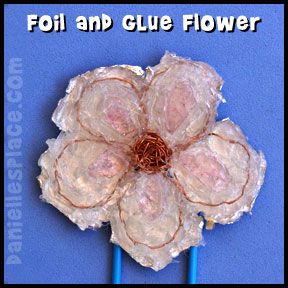
7. The flower on the right was made a little differently. First a flower shape was made from very thin wire and glued to a piece of aluminum foil. Then it was outlined with the glue gun. Gems were glued to each petal, and then the petals were filled in with glue. When the glue was dry the foil was ripped away from the flower leaving a pretty, somewhat jagged edge.
We would love to see your glue flowers! Send us a picture and we will publish them here!
*If you use this technique, please do not publish it on Pinterest without giving this web site credit. You can publish comments about how you changed the craft or adapted it to fit your needs, but please refer back to this site for the complete directions.
Technique Created by Corrin Burner
©2013, Digital by Design, Inc. -*See Copyright Information
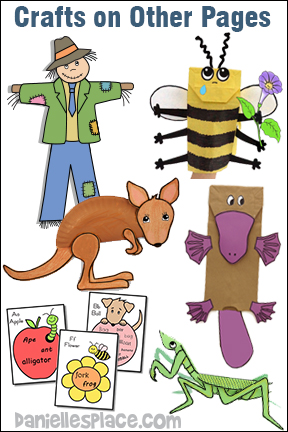
Mother's Day Crafts on Other Pages