Animal Crafts and Learning Activities Index Page
How to Make Easy, Inexpensive, Animal Crafts and Learning Activities for Children for Homeschools and Preschools
ABC Animal Bottle Cap Magnet Craft
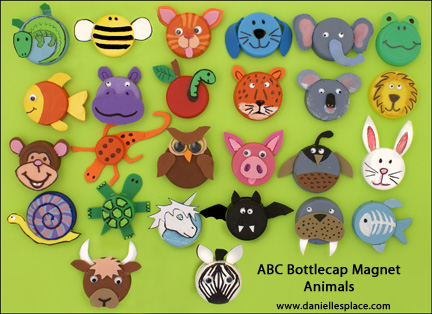
What you will need:
Plastic caps from milk bottles, pop bottles and various other bottles, acrylic paint, craft foam, tiny googly eyes, low temp. glue gun, and scissors.
How to Make Bottle Cap Magnets:
1. Use the examples above to make your own magnets.
2. Glue large magnets to the inside of the bottle caps so that they are even with the edge of the bottle cap. If the magnets are too small or thin, glue some cardboard to the inside of the bottle caps and then glue the magnets to the cardboard so they stick out farther. Test your bottle cap magnets to make sure the magnets are strong enough hold the bottle cap to your refrigerator.
3. Paint the bottle caps with acrylic paint. Cut ears, legs, wings, and other features from craft foam and glue them to the caps with a low temp. glue gun.
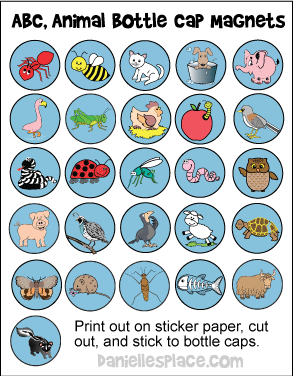
If you don't have time to make the bottle caps, you can use the Printable ABC Animal Bottle Caps. Print them out on cards stock and use them as cards or print them on sticker paper, cut them out, and stick them to bottle caps. (These printables are also available on the ABC, I Believe Lessons.)
Use the magnets to help your children review their ABCs, learn to read, and learn more about animals and animal classification.
1. Have your child match up letter magnets with the animal magnets.
2. Collect pictures of animals and other things and have your children place the pictures under the magnets with the same beginning sounds.
3. Find out facts about each animal. Write the facts on small pieces of paper and place each fact sheet under each animal magnets.
4. Write the names of the animals on sheets of paper and review them with your child. If the child learns to read the name of the animal, place the paper with the name under the magnet. Keep reviewing until your child can read all the names.
5. Try to find books in the library that have stories about animals. When you have finished reading a book about a specific animal, let your child place the magnet of the same animal on your refrigerator. Try to read books about all twenty-six animals.
6. Use the bottle cap animals to study the classification of animals.
©2012, Digital by Design, Inc. - See Copyright Information
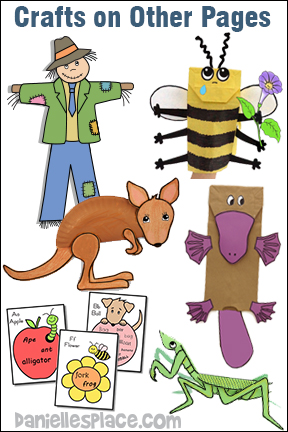
Animal Crafts on Other Pages
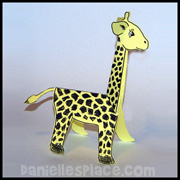
African Animal Crafts
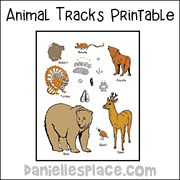
Animal Tracks Crafts
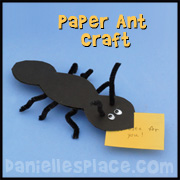
Ant Crafts
Go to the Ants Crafts Page
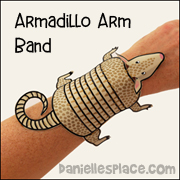
Armadillo Crafts
Go to the
Armadillo Craft Page
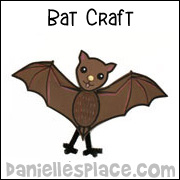
Bat Crafts
Go to the Bat
Craft Page for
Bird Crafts
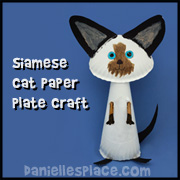
Cat Crafts
Go to the Cat and Kitten Crafts Page to Find Cat Crafts
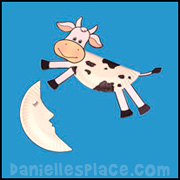
Cow Crafts
Go to the Cow Crafts Page for More Cow Crafts

Dog Crafts
Go to the Dog Crafts Page to Find More dog Crafts

Elephants
Go to the Elephant Crafts Page
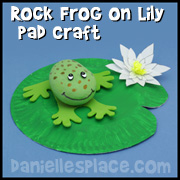
Frog Crafts
Go to the Frog Crafts Page
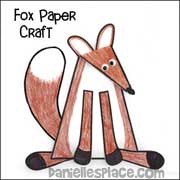
Fox Crafts
Go to the Fox Crafts Page
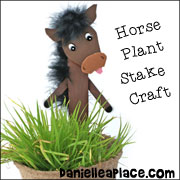
Horse Crafts
Go to the Horse Crafts Page
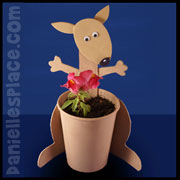
Kangaroo Crafts
Go to the Kangaroo Crafts Page
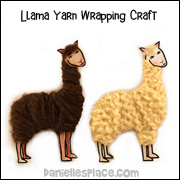
Llama Crafts
Go to the Sloth Llama Craft Page