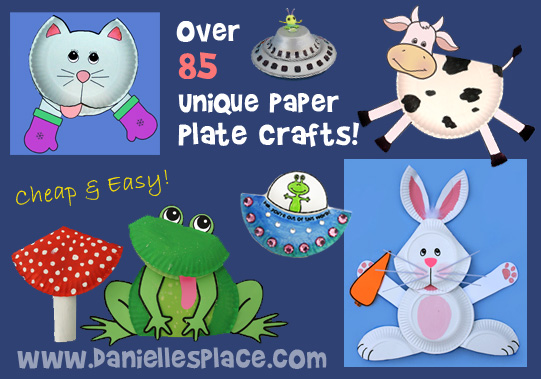
Paper Plate Crafts for Kids
How to Make Crafts with Paper Plates, Paper Cups, and Paper Bowls


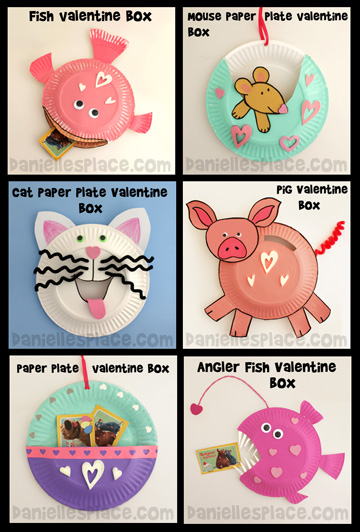
Paper Plate Valentine Boxes Children Can Make
Also See Paper Cup Craft for Kids


Paper Plate Valentine Boxes Children Can Make

![]()
![]()
![]()
![]()

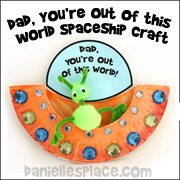
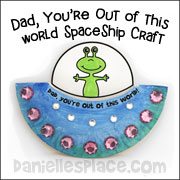
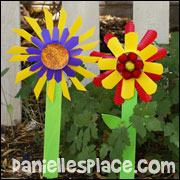
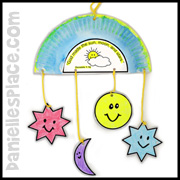
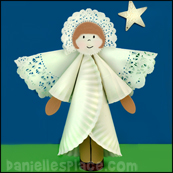
Delight in the magic of Mother’s Day with an array of enchanting crafts for children! Ignite your little ones' creativity as they design heartfelt treasures for their mothers, using a delightful selection of easy-to-find and budget-friendly materials. These charming projects are perfect for fostering creativity in Children’s Ministry, enriching homeschool experiences, and lighting up elementary classrooms. Get ready to craft unforgettable tokens of love that will warm every mother’s heart!
You can find thousands of more crafts and learning activities on this website. Join as a member to access all the material or purchase them as individual downloads on our download store.

At Danielle's Place, we are committed to empowering your child’s learning journey. Our exceptional educational crafts and activities are specifically designed to enhance both their understanding and memory recall. Invest in a brighter future for your child today!

Free Sunday School Lesson Psalm 139 - God Knows Me

Free Bible Lesson Watchdog Sunday School Lesson
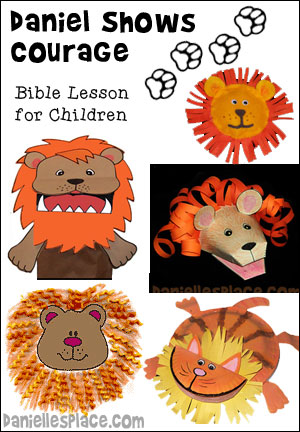
Free Scaredy Cat Daniel in the Lion's Den
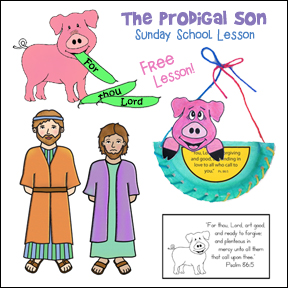
Free Prodigal Son Bible Lesson

Free Elijah and the Ravens Bible Lesson

Jesus Heals the Ten Lepers Free Bible Lesson for Children
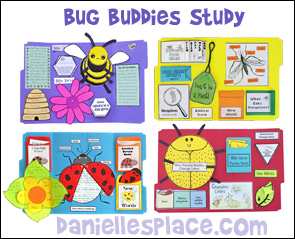
Bug Buddies Study for Home School
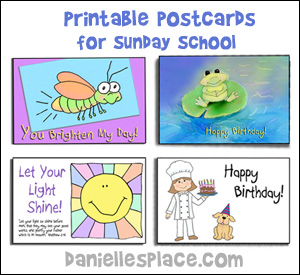
Printable Postcards for Sunday School
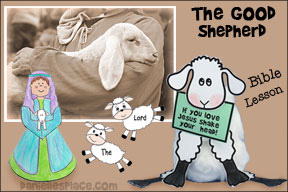
"The Good Shepherd" Free Bible Lesson
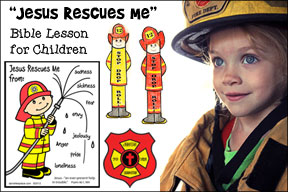
"Jesus Rescues Me" Fireman-Theme Bible Lesson for Children's Ministry
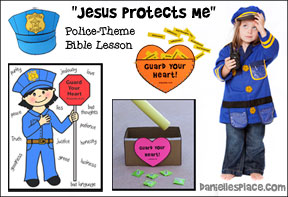
"Jesus Protects Me" Police-Theme Bible Lesson for Children's Ministry
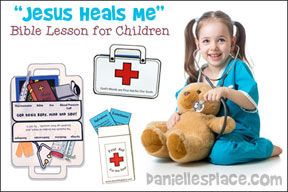
"Jesus Heals Me" - Doctor and Paramedic - Theme Bible Lesson for Sunday School
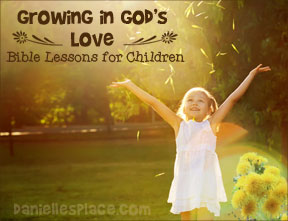
"Growing in God's Garden" Bible Lesson Series for Children's Ministry
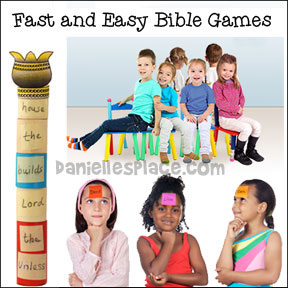
Fast and Easy Bible Games for Children's Ministry, Sunday School, and Children's Church
Free Download! Bible Games for Children's Ministry
Bible Lessons About Love for Children's Ministry