Miracles Sunday School Crafts and Activities
Sunday School Lessons, Crafts, and Activity Ideas about the Miracles of Jesus
Miracles - Jesus Heals the Blind Man
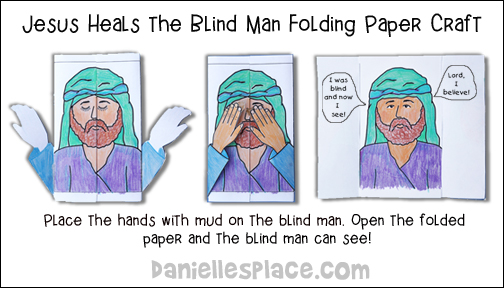
Jesus Heals the Blind Man Paper Craft for Sunday School

What you will need: Paper, Colored Pencils or Crayons, Scissors, Clear Packaging Tape (Wide Tape), Chocolate Pudding
Instructions for Younger Children:
1. Before class print out the blind man pattern and seeing man pattern and make copies. Cut the pattern out.
Member's ![]()
Instant Download Pattern - ![]()
2. Make some chocolate pudding.
3. In class have your children color the pictures.
4. Fold the sides of the blind man picture back and turn the pattern over, unfold, and glue the seeing man picture in the center between the folds.
5. Have your children write on one side of the seeing man, "I was blind, but now I see!" and on the other side, "I believe."
6. Place pieces of clear packaging tape over the blind man's eyes. Let your children dip their fingers into the pudding and place it on the blind man's eyes, and then wipe it off, and open the paper to reveal the seeing man
Children can act out the story of Jesus healing the blind man using this craft. They fold the hands over the blind man's eyes then open the folded paper to reveal the man that can see!
Instructions for Older Children:
1. Before class print out the Hands Patterns, Blind Man Pattern and Seeing Man Pattern, and make copies.
Member's ![]()
2. Cut out the hand patterns and the seeing man pattern.
3. In class have your children color the pictures, and then fold the patterns.
4. Fold the sides of the blind man picture back, unfold, and glue the seeing man picture in the center between the folds. Fold the hands at the ends and glue them to the back of the blind man pictures and fold them forward over the blind man's eyes.
5. Have your children write on one side of the seeing man, "I was blind, but now I see!" and on the other side, "I believe."
See how to make this craft on our "View it and Do it" Craft video:
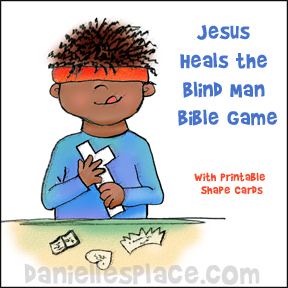
Jesus Heals the Blind Man Game for Sunday School
This game goes along with the Bible Lesson "When the Blind Can See and the Seeing are Blind" on The Resource Room, where children learn that Jesus can heal us both physically and spiritually.
Objects or shapes that represent different spiritual concepts are placed in bags. Children reach into the bags, feel the objects, and try to figure out what they are.
The students can then try to guess what spiritual truth the objects represent, or the teacher can tell them.
What you will need:
Printable Shapes Patterns from The Resource Room or the Following Objects: Small Bible, Crown, Heart, Cross, Lamb Toy, Candle, Six Lunch Bags and Scissors

Member's ![]()
1. Before class print out the shape patterns onto card stock (Heavy Paper) or collect the items listed. Place each shape or item in a bag.
2. In class have your children take turns trying to discover what shape or object is in the bag, and what it might represent relating to spiritual sight.
3. Give a bag to a child and tell him to reach into the bag and try to feel the object or paper shape that is in the bag and guess what it might be. If the child can't guess, have him give it to the next child to try.
4. After a child has guessed correctly read what is on the shape or explain how each item relates to spiritual sight.
Lamb - "Look, the Lamb of God, who takes away the sin of the world!" John 1:29. When we recognize that Jesus is the lamb of God we gain spiritual sight.
Crown - "Jesus is King of Kings and Lord or Lords" Revelations 19:16. When we recognize who Jesus is we gain spiritual sight.
Bible - "Consequently, faith comes from hearing the message, and the message is heard through the word about Christ." Romans 10:17. When we read God's words and believe we receive spiritual sight.
Cross - "Jesus gave his life for you on the cross so you live in righteousness." 1 Peter 2:24. When we understand how Jesus died for our sins and ask for forgiveness we gain spiritual sight.
Heart - God loves you. He sent his own son to die for you so
you might have eternal
life. - John 3:16. When we realize how much God loves us we gain spiritual sight.
Candle - "Jesus said, 'I am the light of the world.'" John 9:5. When we recognize Jesus as the light of the world we gain spiritual sight and no longer live in darkness.
©2012, Digital by Design - See Copyright Information
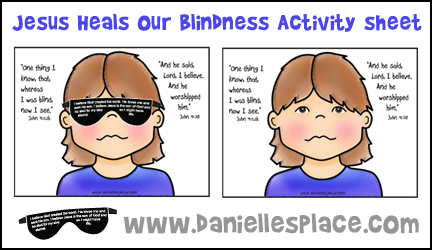
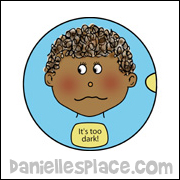
Jesus Heals My Blindness
This craft goes along with the Sunday school lesson "Jesus Heals the Blind Man" on The Resource Room.
Member's ![]()
Is it Spiritual or Physical Blindness?
Before class print out the eyes and heart pictures and cut them out. You can also glue them to craft sticks. Make a set for each child.
Member's ![]()
In class tell your children that you are going to tell them part of the story and they should put up either the eye for physical blindness or the heart representing spiritual blindness for each thing you say.
Example:
1. The blind man that Jesus and his disciples passed as they walked. The children should put up both the eyes and heart since the blind man was both spiritually and physically blind.
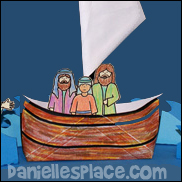
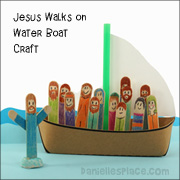
Miracles - Jesus Walks on Water or Jesus Calms the Storm
See Jesus Walks on Water and Miraculous Catch of Fish Page
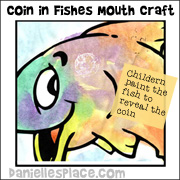
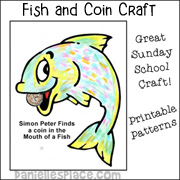
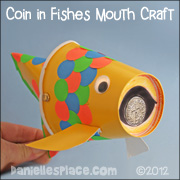
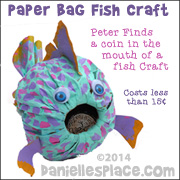
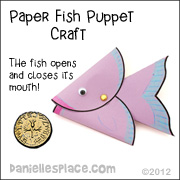
Miracles - Peter Finds a Coin in the Mouth of a Fish
Go to the Miracles - Peter Finds a Coin in a Fishes Mouth Craft Page
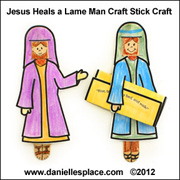
Miracles - Peter Heals the Lame Man
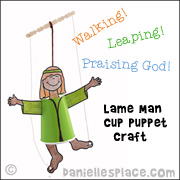
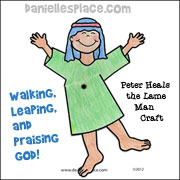
See Peter Heals the Lame Man Crafts and Bible Games Page.
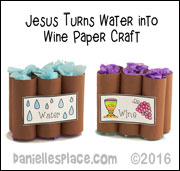
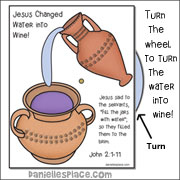
Miracles - Jesus Turns Water into Wine in Cana
See the Jesus Changes Water to Wine Bible Crafts Page
Miracles - Jesus Heals a Paralytic
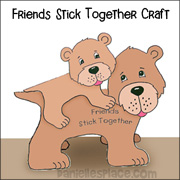
See Bible Themes - Bear One Another's Burdens
Talk About First Aid Supplies
Bring in a variety of supplies from a typical first aid box, Band-Aids, gauze, aspirin, etc. Let the children discuss them; what they are used for, etc. Then talk about how Jesus can help you feel better when you are sick or hurt. Discuss how Jesus wants us to be well, not sick, just like our parents. Use this to start discussing the healing miracles Jesus did.
Blind Man
Blindfold them and lead around the room. Have them try to touch their toes, scratch their nose, tie their shoes, etc. with the blindfold on. Then take them off and do same activities.
Jesus Healing the Sick
Have the children lay down like they are sick in bed. One teacher comes in, kneels beside each child and recites the words Jesus healed Jairus' daughter. They can do this for each other, and help each other up off the floor.
Bandage Relay
For primary ages, do a "bandage relay". Two teams, have them try to wrap or unwrap each other from gauze wrap, ace bandages, etc. Or give them each a stack of Band-Aids and have them unwrap and stick them on each other in a certain amount of time.
Play a Memory Game
For primary ages, take a tray of first aid supplies and let them look at it for one minute. Remove several objects and have them try to tell what is missing.
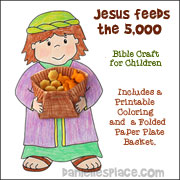
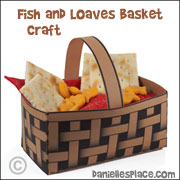
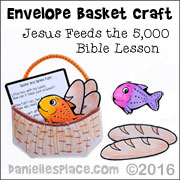
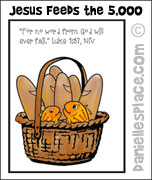
Miracles - Jesus Feeds the 5,000
The Big Picnic Sunday School Lesson on The Resource Room
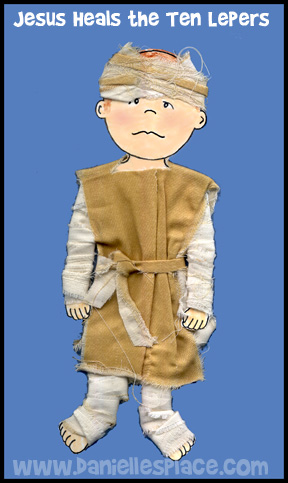
Miracles - Jesus Heals the Ten Lepers
"Don't Forget to Say Thank You"
This lesson comes from The Resource Room. A Free Sample Lesson is Also Available
In this lesson Children learn that it is important to tell Jesus how thankful they are. He likes be thanked just like we do when we do.
Younger children make leper paper dolls to act out the story as a poem is being read.
Older children make paper doll puppets to use in a show about the lesson.
All ages will enjoy playing a "Musical Chairs" game in which they have to say something they are thankful for when they sit on a certain chair. Click on the link to get your free sample lesson.
©2005, Digital by Design- See Copyright Information