Bible Crafts and Games for Children's Ministry - G
How to Make Bible Crafts and Activities for Sunday School and Bible School
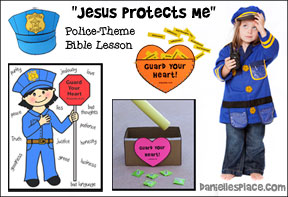
Gideon Bible Crafts and Lessons
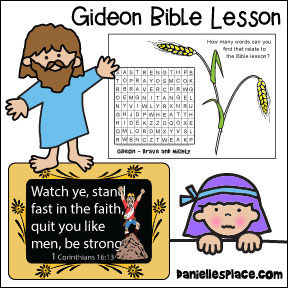
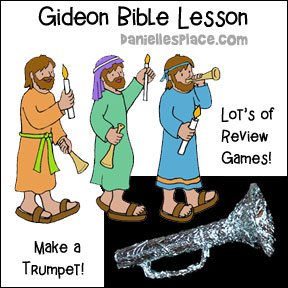
Go to the Gideon Bible Lessons, Crafts, and Activities Page for a lesson, crafts, and activity ideas.
Gifts of the Spirit Activities
Unwrap a Gift
1. Write the words "the greatest of these is love" on the outside of an envelope.
2. Place inside the envelope pieces of paper with the words that describe what love is in 1 Corinthians 13:4-7. Write one word on each piece of paper: patient, kind, does not envy, does not boast, is not proud, is not rude, it is not self-seeking, is not easily angered, it keeps no record of wrong, etc.
3. Place the pieces of paper inside the envelope. Place the envelope inside the box. Seal it and wrap up the box using ten layers of wrapping paper. On each layer write one gift of the Spirit: Wisdom, knowledge, faith, healing, prophecy, distinguish between spirits, speaking in tongues, interpretation, helping others, and administration.
4. Play a game like musical chairs except have the children pass around the gift while playing some music. When the music stops let the child who is holding the gift unwrap one layer and read the word that shows after taking off the layer. Keep playing until someone gets to open the box. The child that gets to open the box should read the outside of the envelope and pass out the pieces of paper inside. When everyone has a piece of paper, have each child give an example of the words written on his piece of paper.
©2003, Digital by Design, Inc. -*See Copyright Information
Giving - God Loves a Cheerful Giver
Are You a Sheep or a Goat? Sunday School Lesson with Giving Crafts
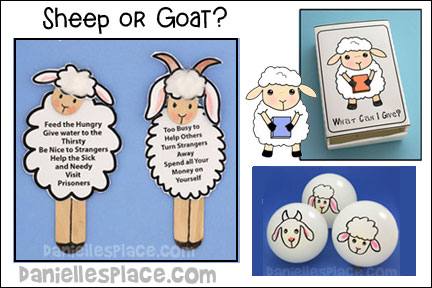
In this lesson children learn that we all have different personality types. Some of us are more like sheep, and would rather follow than lead, and some of us are more independent like goats and would rather be leaders, but when it comes to our relationship with God, we should be more like sheep. Many people say they love God, but their lives don't show it. They don't really follow Jesus. Jesus compares these people to goats. When Jesus returns he will separate the goats from the sheep (the people who truly love him), and only the sheep will inherit his kingdom. In this lesson children learn practical ways in which they can live their faith by following Jesus' example. This Lesson is available to members only.
©2008, Digital by Design, Inc. -*See Copyright Information
Sheep Sweet Treat Gift Box
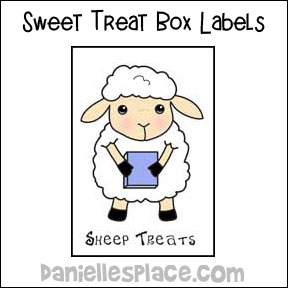
Have your children color and decorate small boxes and place candy inside them to give to someone who they think might enjoy a sweet treat.
Patterns for the Box and Labels to go on pre-made boxes are available to members. The back of the box says, "A sweet treat just for you to let you know that God cares for you, and I do too!"
©2008, Digital by Design, Inc. -*See Copyright Information
"What Can I Give?" Box Craft
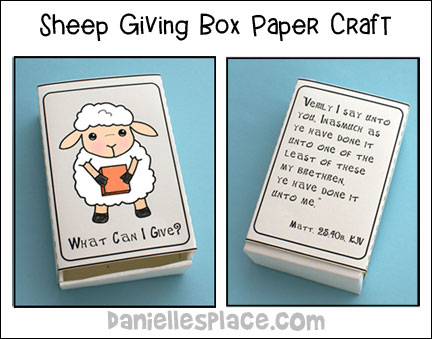
Have your children decorate small boxes. Have your children think of things that they can give during the week, and write them on small pieces of paper that will fit inside the boxes. Tell them to bring the boxes back next week so they can share what they have done during the week.
Patterns for the Box and Labels to go on pre-made boxes are available to members. Matthew 25:40 is printed on the back of this box craft. Available in the KJV or NIV.
©2008, Digital by Design, Inc. -*See Copyright Information
God Loves a Cheerful Giver, Giving to the Poor
Talk about things we can give: Money, clothes that we have out grown, old toys, our time, and our talents. Tell the children that they probably don't have money they can give because they are too young to have jobs. They probably don't even get an allowance yet. But there are other things they can give. They can give their time by helping others, and use their talents like drawing, singing, and making things for fund raisers.
They can keep their toys nice and when they out grow them or they are tired of them, they can give them to the poor or sell them and use the money to send to the poor.
They can help decorate a big barrel in which they can bring in things they can't use anymore or would like to give. You can make it a class project. Make sure the children know that they have to ask their parents first before they give something away. Save up the items and then have a garage sale. Let the children know how much they made and where the money was sent.
©2008, Digital by Design, Inc. -*See Copyright Information
Separate the Sheep from the Goats Balloon Game
1. Before class blow up ten balloons and draw sheep faces on half and goat faces on the other half. Draw horns and beards on the goats. You can use different colors of balloons for the sheep and the goats to make this game easier for younger children.
2. Roll up several layers of newspapers to make a "Shepherd's staff" and tape it closed in the center of the roll.
3. In class place tape lines on the floor about two feet away from the wall on each side of the room.
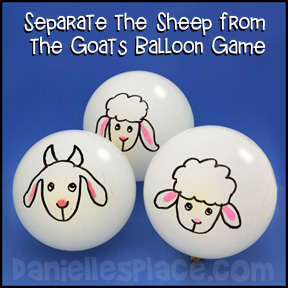
How to Play:
To play place the balloon sheep and goats in the middle of the room on the floor. Pick a child to be "Jesus" and give him the newspaper staff. The child should separate the sheep from the goats by hitting the sheep to the right across the tape line and the goats to the left across the tape line. Time the child and then have another child try. The child that separates the sheep and goats the fastest wins.
If you have very young children who don't like balloons, or you don't have balloons, you can use plastic shopping bags stuffed with styrofoam peanuts and/or shredded paper. Sent in by Dian Dodson, Missoula, MT.
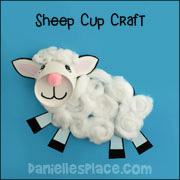
"Goat or Sheep" Sheep Refrigerator Magnets

What you will need:
Jumbo Craft Sticks
Card Stock
Glue
Cotton Balls
Pens
Colored Pencils
Small Magnets
What to do:
1. Before class print out the patterns and cut them apart. Cut the jumbo craft sticks using the template to make the head and legs.
Member's 
Instant Download Pattern $2.00 - 
2. In class have your children cut out, color the and glue them to the craft sticks. They can also glue cotton to the sheeps head.
3. To finish glue magnets to the back of the sheep and goat figures.
God - God is always with Us
Snowflake Poem and Craft
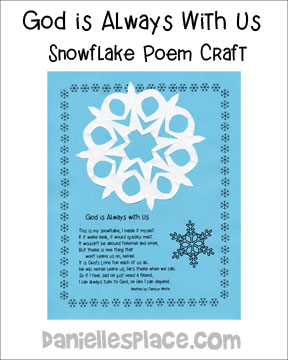
Here's a great little poem to teach children about God's love.
What you will need:
White Paper
Scissors
Paper Glue
How to make:
1. Print out a copy of the snowflake poem and print it onto different colors of paper.
Free 
2. Cut out squares from white paper and have the children fold the paper in half diagonally and then in half again and show them how to cut snowflakes.
If you don't remember how to make snowflakes you can go to the Winter Crafts Page for directions. If you don't want to make snowflakes you can use snowflake stickers or fun foam shapes.
©2008, Digital by Design, Inc. -*See Copyright Information
"God is Always with Us"
See the "Moses Hides from Pharaoh" Sunday School Lesson Page.
The Golden Rule
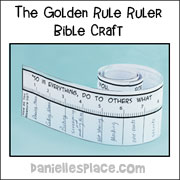
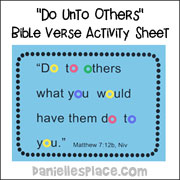
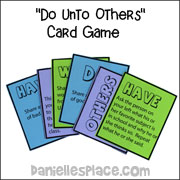
Go to the The Golden Rule Bible Lessons, Crafts, and Activities Page for a lesson, crafts, and activity ideas.
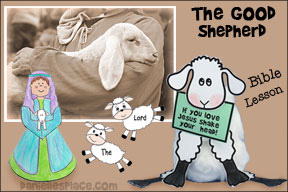
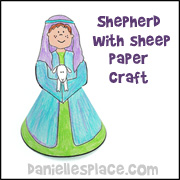
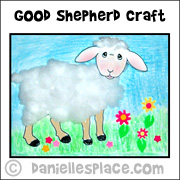
The Good Shepherd
The following crafts are available on The Resource Room a subscription site. They go with the Bible lesson "The Good Shepherd" - Free sample lesson is also available.
I have enjoyed being a subscriber this past year, my first. I teach 3-5 year olds in Sunday School at St John Neumann Church in Bryn Mawr, PA with three other mothers who rotate with me on a monthly basis. I have used many of your lessons and craft ideas with great success. Thanks for your fabulously helpful work. God bless you. Sincerely, Susan Stavish
Good Behavior
Good Behavior Keys
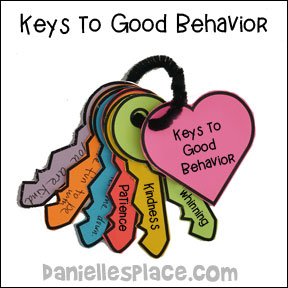
Parents can use these keys to help make children aware of bad behavior in a fun way. For example, when your child is being mean you can say to your child, "Uh oh, I think we need some kindness. Where is your kindness door?
Pretend to look all over your child's body to find the key hole or use your kindness key to tickle your child until he changes his behavior or is at least is aware of it. If your child is whining, you can lock up the whining or open up the door and let it out.
Bethany Davis sent in this idea. Make a larger version of these keys and hang them up in your class. Whenever a child is misbehaving use the keys on that child.
What you will need:
Different colors of poster board, markers, scissors, and key chain (costs about thirty cents apiece)
How to make:
1. Cut out some key shapes in different colors and punch a hole in the tops.
Member's ![]()
2. On each key write a certain behavior your child need to work on such as: kindness, patience, no whining, listening sharing, etc.
3. Put the keys together on a key chain ring with your child's name it.
©2003, Digital by Design, Inc. -*See Copyright Information
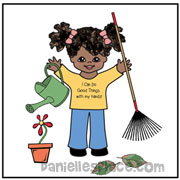
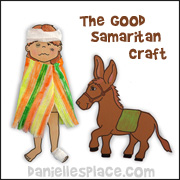
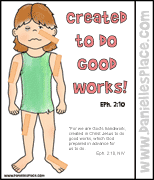
Good Samaritan
Good Samaritan - I Can Do Good Things Bible Lesson
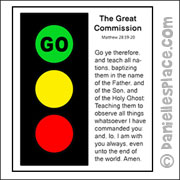
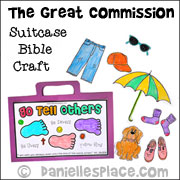
The Great Commission and Tell the Good News
See The Great Commissions Craft Page
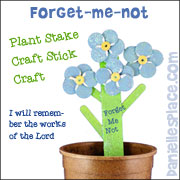
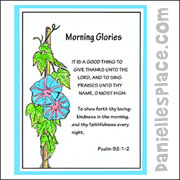
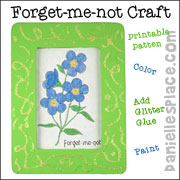
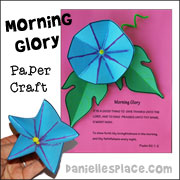
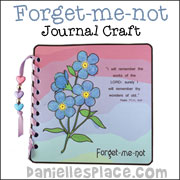
Growing in God's Garden Summer Bible Study Series
This series of lessons use different types of garden flowers to help explain biblical concepts. Children make garden-related crafts and play outside games to reinforce the lessons. The complete lessons with crafts, activities and songs are available on The Resource Room.
See the Bible Themes - Growing in God's Love Page