Bible Crafts and Activities for Kids
How to Make Crafts and Activities Relating to Jewish Customs, Job, John the Baptist, Jesus, Joseph, and Josiah
Jewish Customs
Jewish Customs - Life in the Times of Jesus
Crafts
Make Bible Scrolls - When the kids arrived, they decorated small scrolls. The scrolls were created from craft sticks stapled (with tape covering the sharp staple edges) to doubled-over paper from the bathroom paper towel roll. (It's a continuous roll and pretty sturdy paper) On each scroll I had used a Sharpie to write, "Baruch atah Adonai!" which means, "Go with the LORD's blessing." We asked the kids to draw things that reminded them of Jesus. (All very original!)
Learn Jewish Words
Teach your children to say, "Shalom" meaning peace. Explain to your children that they are speaking peace into the lives to whom they say Shalom. Play-act, knocking on the door and greeting visitors with "Shalom".
Talk About Jewish Items
Pull items from a box and tell your children about them.
1. Dreidel - A four-sided top played within the Jewish holiday of Hanukkah. Each side has a different letter. The letter together stand for "a great miracle happened there". Learn how to play this game on Billy Bear Web Site.
2. Mezuzah - Explaining that it was place on the doorpost of Jewish homes and held God's Word. The mezuzah is nailed to the door as a reminder that we are to keep God's Word in our thoughts in all our comings and goings. I also mentioned the Bible verse about how Jesus says He is the door (John 10:9), and how He was nailed on the cross. Jesus, the Word of God, nailed up to a cross that opened a doorway into salvation for us.
3. Yarmulke – Jewish head covering. Remind your children that we see other people wearing head coverings such as Mennonites. They're not being 'weird': they are honoring God. I wanted to plant this in their minds now due to one of my kids asking why there were so many “pilgrims” in Wal-Mart last fall
4. Prayer Shawl - My husband modeled the prayer shawl showing the children how he could enter into the 'closet' of prayer by pulling it down over his head to pray. We asked for prayer requests and praise reports, which we wrote on the dry erase board. We reminded the kids that where two or more are gathered in His Name, He promises to be there with us. And, if we ask anything according to His Word and believe He'll do it; He will answer our prayers. The kids came forward and laid their hands on the dry erase board and we said a prayer over everything written there.
5. Menorah - A seven branched light holder to be lit by olive oil.
©2000, Digital by Design, Inc. - *See Copyright Information
Job

See - Job's First Test Bible Lesson for Children

See - Job's Second Test Bible Lesson for Children
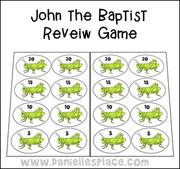
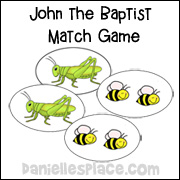
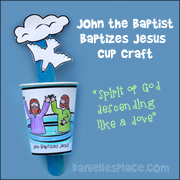
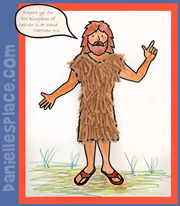
John the Baptist
©2000, Digital by Design, Inc. - *See Copyright Information
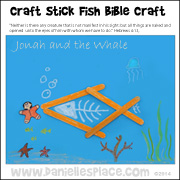
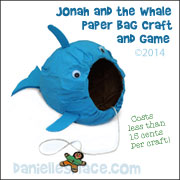
Jonah
Jonah and the Whale
See the Bible Themes Page for Jonah
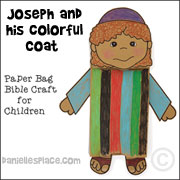
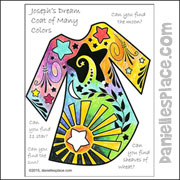
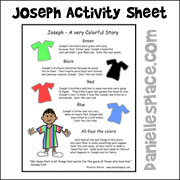
Joseph
Go to the Joseph Bible Crafts and Activities.
Joshua
Joshua Crafts and Activities
Go to the Joshua Crafts and Activities Page.
Josiah
The Following Lessons are Available on The Resource Room a Subscription Site.
The Forgotten Promise
In this Lesson children learn that God wants us to obey his words. They learn that they must study God's words daily in order to remember and obey them. They also learn about King Josiah, a young king who loved God and wanted to follow his laws. The people of his time had forgotten God's words and worshipped other God's. King Josiah reminded the people of the promise their forefathers made years earlier.
They renewed their promise to God to obey his words.
King Josiah Holding a Scroll Craft
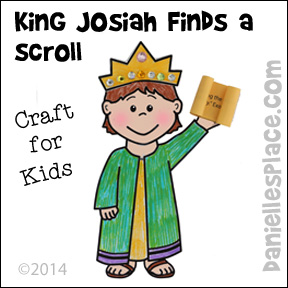
Children color a picture of King Josiah, decorate a paper crown with craft gemstones and glue it to his head, and roll up a piece of paper with the Bible verse on it to make a scroll which the glue to King Josiah's hand.
Member's ![]()
Crown Craft
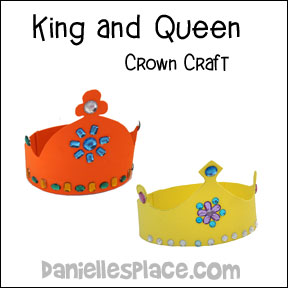
What you will need:
Craft Foam or Poster Board
What to do:
1. Print out the crown pattern on to card stock.
2. Cut it out and use as a template to cut crown shapes from craft foam or poster board.
Member's ![]()
3. Have your children glue gems and other decorative items on the crowns.
Exodus 24:7 - We will Obey Bible Verse Coloring Sheet
After your children color the Bible verse sheet remind them that the words "obey" and obedience" start with the letter "O". Have them count all the letter "O's" they can find on the sheet.
This Bible verse coloring sheet goes with the Bible Lesson "Josiah, The Forgotten Promise". It is available in both NIV and KJV.
Member's ![]()
"Things God Wants us to Remember" Game
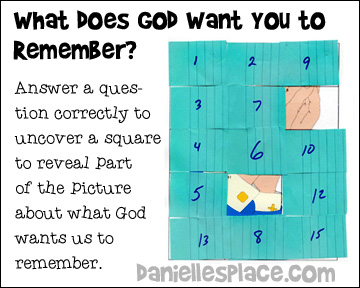
1. Print out the picture cards.
2. Cut squares from sticky note paper to fit over the picture covering it entirely.
Member's ![]()
3. Take turns asking your students questions about the lesson. If a child gets a question correct, he gets to take off one sticky note square and guess what he thinks the picture is. Remember him that the picture is about something that God wants us to remember.
Alternate Game:
If you don't want to use sticky notes, you can use a grid pattern. Cut the pictures up into squares. Place the squares from one picture face down on a table and mix them up. Have your children take turns picking a square, and placing it in the corresponding place on the grid. Each time they place a square ask them if they can figure out what the picture is and what we should remember.