Creation Crafts and Activities
Creation Crafts, Games and Children's Sermons for Sunday School and Children's Ministry
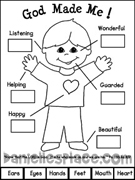
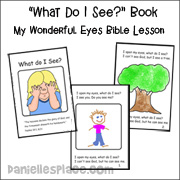
"God Made Me" Bible Lesson Series On The Resource Room
This series of lessons is available on The Resource Room to members only. To view the complete lessons go to the "God Made Me" Series of Lessons on The Resource Room. This series includes material for home school and preschool including math and reading review games, art ideas, cooking, and science.

Crafts and Ideas Relating to the Complete Creation Story
Creation Children's Sermons - Days of Creation
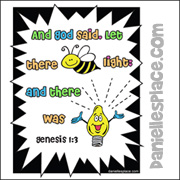
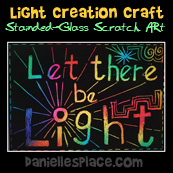
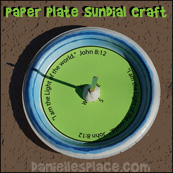
Creation Day 1 - "Let There Be Light" Bible Lesson on The Resource Room
See the Crafts for Day 1 of Creation Page
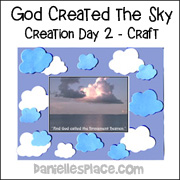
Creation Day 2 - God Creates the Sky Crafts and Learning Activities
See the Crafts for Day 2 of Creation Page

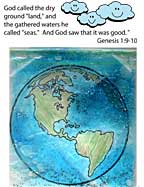
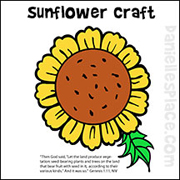
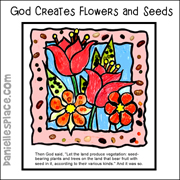
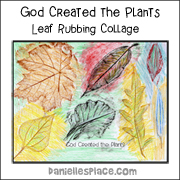
Creation Day 3 - God Made the Earth, Seas, Plants, Trees, and Flowers Craft and Activity Ideas
See the Crafts for Day 3 of Creation Page
We used (the lesson) Jesus is my best friend in my 1-2 year old class today. It went very well. They loved making the finger puppets. We did the books marks & color sheets too. They acted out the story with their puppets after we finished making them. All during the time I was in the choir, they were playing with them. The other children were taking them away from the little ones. One of the parents made a remark about what I was doing with the children. They said the crafts that we did really got their child to talking about what we did in Sunday School. He could even tell them about the lesson & was so amazed at what he was doing. I give GOD & you the credit. Muryrl
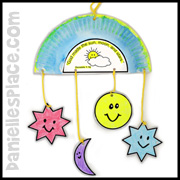
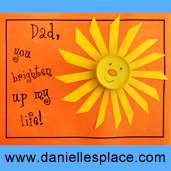
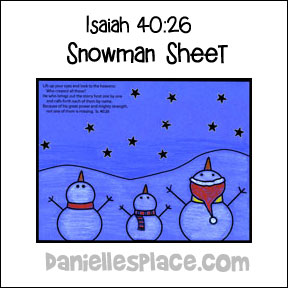
Creation Day 4 - God Made the Moon, Stars, and Sun Craft and Activity Ideas
See the Crafts for Day 4 of Creation Page
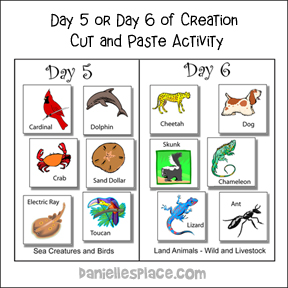
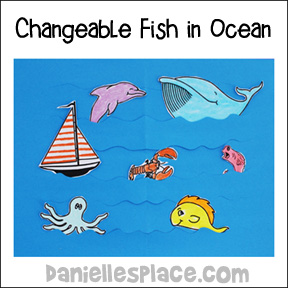
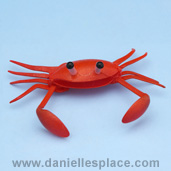
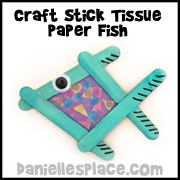
Creation Day 5 - God Made the Birds and Sea Animals
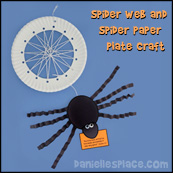
See the Crafts for Day 5 of Creation Page

I have really enjoyed getting the subscription to the resource room. For a long while I had enjoyed the craft ideas and things-sharing them with my daughters who are both teachers in Christian school. Now I am teaching Sunday School and I have really appreciated your site. This August we will be having VBS at the small church where my husband is pastoring and your site has been a great resource for me. We will be using many ideas. Tomorrow I am doing The Lord is My Rock lesson for the class. (I should have checked the web site earlier and I would have done the Independence Day lesson, but instead I have printed it out for my husband to use with ideas for the Children's Sermon.) For our craft tomorrow I am having the children write JESUS on a small rock with colored glue and then glue it on a red construction paper circle with Psalm 18:2 written around the edge. I found the lesson very meaningful. Thanks, Janet
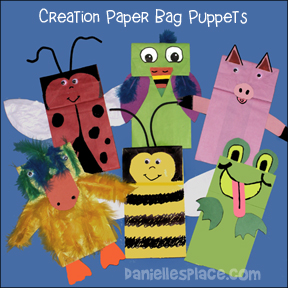
Creation Day 6 - God Made the Animals Craft and Activity Ideas
See the Crafts for Day 6 of Creation Page