Sunday School Crafts and Activities
Bible Crafts Including: Labor Day, Lazarus, Leprosy, Light, Lord's Prayer, Mary and Martha, and Mother's Day
Labor Day Sunday School Lesson Crafts and Activities
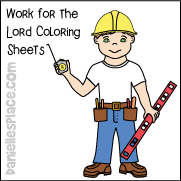
See "Work for the Lord" Sunday School Lesson - The Israelites Build the Tabernacle - The Israelites used their talents and wealth to build a temple for God. God gives everyone special abilities and wants us to use our talents to work for him. God wants us to work hard at whatever we are doing, not for the praise of men, but of the Lord. The following Crafts and Activities come from the Sunday School Lesson, "Work for the Lord" on The Resource Room
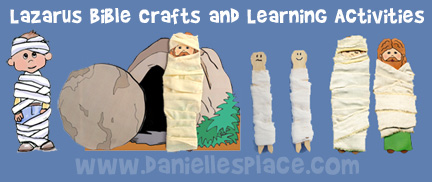
Lazarus or Leprosy Bible Lesson Crafts and Activities Ideas
See the Lazarus Bible Crafts Page
Light Sunday School Craft and Activity Ideas
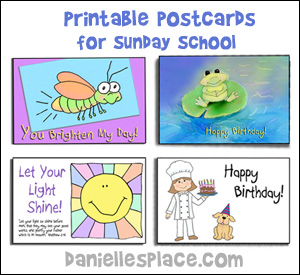
"Let it Shine!" Paper Plate Craft
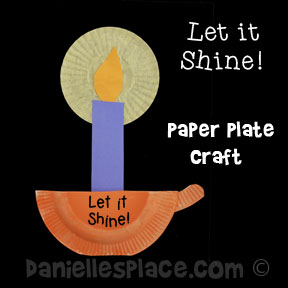
What you will need:
Lunch-size Paper Plates
Yellow Cupcake Liners
Construction Paper
Glue Sticks
Crayons and/or Water Color Paint
Scissors
Markers
How to Make:
1. To make the candle holder cut a paper plate in half and them cut a sliver off the bottom to make it flat as shown in the picture. Use the other half of the paper plate to make the handle. Color and then paint the paper plate candle holder.
2. Cut the candle and flame shape from construction paper.
3. Flatten a cupcake liner and glue it to a piece of black construction paper.
4. Glue the flame and candle shape over the cupcake holder liner as shown in the picture.
5. Glue the paper plate "candle holder" on top and write "Let it Shine!" on the candle holder.
©2014, Digital by Design - See Copyright Information
"I'm the Light of the World" Scratch Art Pictures
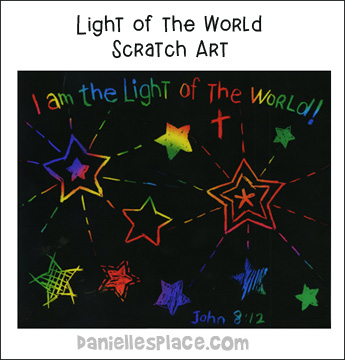
What you will need:
Paper and Pencils
What to do:
1. Have your children draw a design and write the Bible verse on white paper with pencils.
2. When they are happy with their design have them place the paper on top of the scratch art paper and trace it with a pen or pencil so that they can see it on the scratch art paper.
3. Us the stylus to scratch off the design. Hang the finished picture on a window or glass door so the light shines through.
©2014, Digital by Design - See Copyright Information
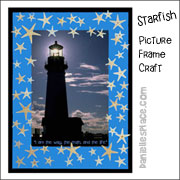
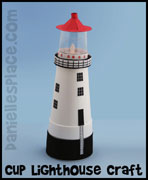
Lighthouse Crafts
See the Lighthouse Crafts and Learning Activities Page

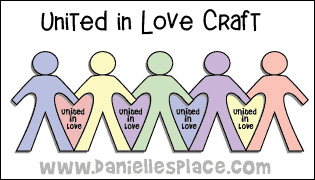
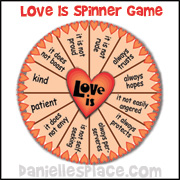
Love Bible Crafts and Activities
Manna - Sunday School Lesson, Crafts, and Activity Ideas
Mary and Martha - Sunday School Craft and Activity Ideas
Mary and Martha Sunday School Lesson
Go to the Mary and Martha Page for Crafts and Activities to go with this lesson.
Jesus Miracles - Sunday School Lessons Craft and Activity Ideas
See the Miracles Crafts and Activity Page
Moses Bible Lessons, Crafts, and Games
Moses
See the Bible Themes Moses Page.
Mother's Day Bible Lesson, Crafts, and Games
Mothers Day Crafts
1. See the Mother's Day Craft Page for Craft ideas.
2. See Bible Themes - Mothers for Bible Lesson Ideas.